Today I think I’m going to do a bit of show and tell, about a project I’ve been working on. A couple buddies of mine are really really excited about the Nintendo Switch that released last Friday. This means it was Wednesday when their Switch carrying cases arrived at the office, and neither gentleman was particularly enthralled. At this point Tim looked over at me, knowing I was a knitter, and asked if I took commissions. Which is how I found myself designing and knitting a Switch cozy without ever having actually seen one, except in internet pictures.
Aside: I do take commissions, but I’m a bit overbooked at the moment, and usually charge cost of materials for folks I know and like and whose projects I’m excited about.
Design processes for me happen in my head a lot initially. I think of similarly-constructed objects that already exist and about what design features they have that I might want to copy. I ask a lot of questions of the person who will receive the FO (finished object), about things like color, thickness, texture, whether they want some kind of motif. In this case, I told Tim to google image search “knitted 3DS cozy” and to let me know if there was anything in particular he’d fallen in love with. It turns out that Tim didn’t really have any particular artistic element he had to have, so I was left with pretty much a blank slate. He just wanted a sock to wrap the screen-portion of his video game system in. Easy, right?
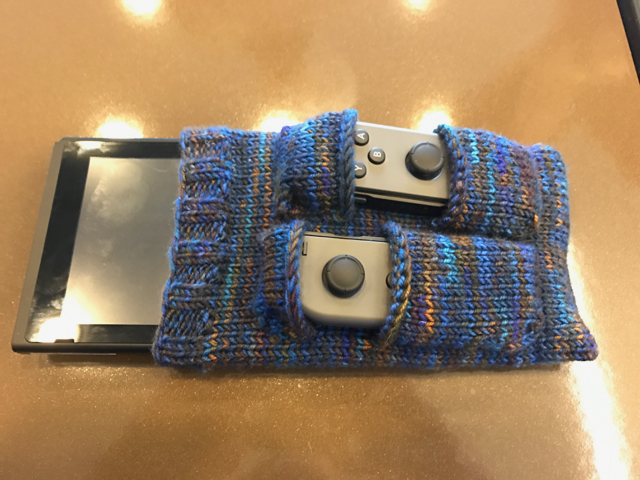
The one thing that caught my attention, was that there were these two joystick attachments that were “left over”. I wanted to make sure that they stayed with the screen since they were pretty important to the whole experience. So, I started thinking about pockets and ways to attach the controllers to the sock. At this point, I still hadn’t drawn or written down anything, because it was basically a knit rectangle with some ribbing on one end, and a seam on the other. I didn’t even have a yarn gauge, yet.
Nintendo had to make things complicated by making their controllers non-symmetrical, the joysticks in different places on each controller. This means each pocket will have to be specific to one or the other. My first idea was to knit a pocket with a slit in the center so that the joystick would stick out over the pocket, with a small button or some other kind of fastener to hold it secure once it was inserted. This had the advantage of being easily customizable for either stick but would probably be pretty fiddly both to knit and to fasten.
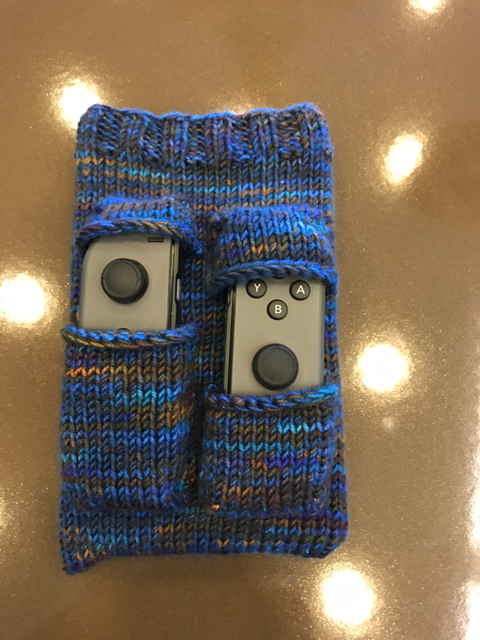
At this point, I ended up talking to some other knitters to see if they had any better ideas. My friend April suggested instead of one pocket, having 2 facing ones, so that the controller could be slipped into the deeper one and then the shorter one slipped over to hold it in place. Brilliant!
With a plan firmly set in my mind, it was time to stash-dive! I didn’t intend to charge Tim anything, so I wanted to use yarn I already had. I fished out a couple of skeins that looked likely and sent him a picture, asking if any sang to him. One did, so it was time for swatching and MATH! I decided since this was a carrying case that I wanted a relatively dense material and Tim picked a skein of sock-yarn I’d bought from a mill-ends sale that Blue Moon Fiber Arts had run a few years ago so I ended up using a fingering-weight yarn held double on size 4 needles.
It’s at this point when I finally drew my first picture, as you can see it’s very realistic, and proportional.
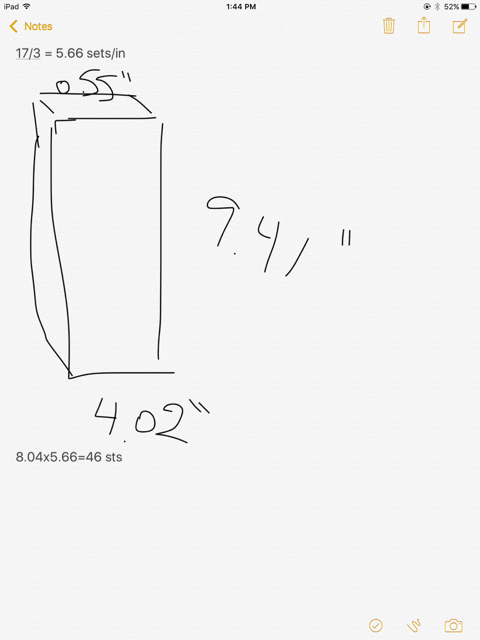
You can see in my picture that I decided I needed to cast on 46 stitches. Pro tip, friends - if you’re intending to do 2x2 ribbing, you need a multiple of 4, so I needed 48 stitches in the end. This tiny bit of fudging is not a big deal, I promise. So, I knit a standard tube for the 8 inches of device screen that exist, and midway through I started getting anxious about whether I was going to stop at the right point. With no device at hand, I took what I did have - a cardboard case from a girl scout that was originally full of Samoas - and made myself a Fake Switch!
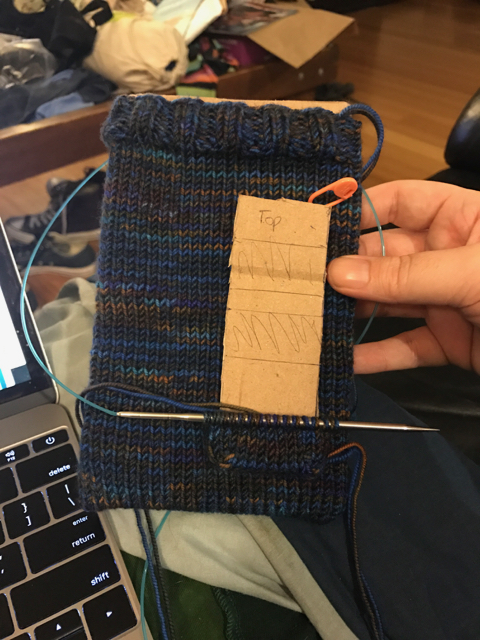
Trimming off the controller widths from the sides meant I had ready-made templates for them, too for phase 2 of this project - the controller holders. I measured out a reasonable guess as to where the joysticks would stick out, to figure out where the pockets should gap, and went to work picking up stitches!
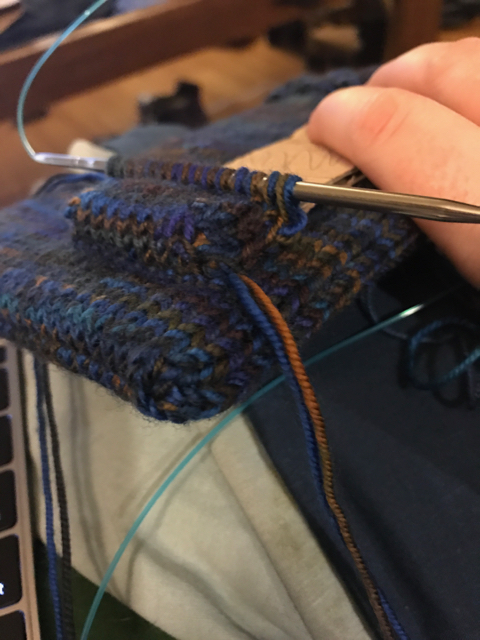
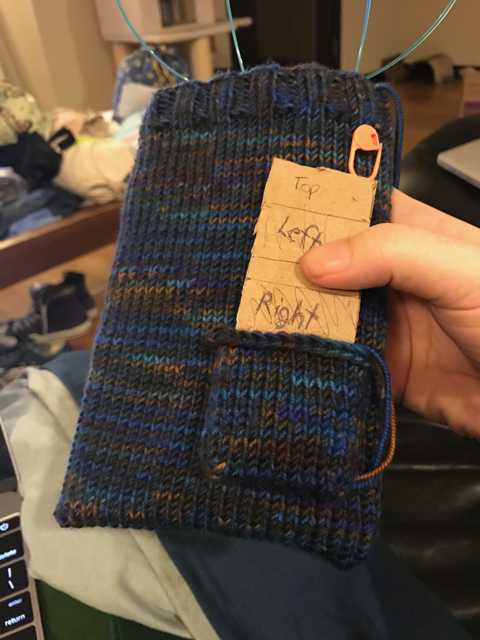
This morning I got to finally try on my work with an actual console (thanks Jake!) and was overjoyed to discover it fits great! Next time I’ll give probably another 1-2 rows of knitting on the case and the pockets on both sides will be deeper (especially the top of the left controller pocket). Overall, though, the acheing hands were worth it and I’m feeling really proud of myself!
Pattern to follow:
materials:
- 1 skein fingering weight yarn - sample uses Socks That Rock by Blue Moon Fiber Arts
- 1 size 4 circular needle long enough to magic loop, or an appropriate number of DPNs
gauge: 22.66 stitches / 4 inches with my yarn held doubled
NOTE: PATTERN WRITTEN ASSUMING THE YARN IS HELD DOUBLED THE ENTIRE TIME.
Main Case:
- Cast on 48 stitches using the technique of your choice (I like long-tail for this, it’ll be the top of your case and should have some stretch to it).
- knit 2x2 ribbing for 8 rounds.
- Switch to stockinette, and knit until the piece measures slightly longer than 8” or will fit your Switch when slipped onto it.
- Turn work inside out and perform a 3-needle bind-off to provide the bottom of the bag a sturdy seam.
Right Controller Pocket - bottom:
- Lay your main case flat and use stitch markers to mark the places you would like your controller pockets to start and end, height-wise. I’d suggest making a template or using an actual controller to figure out proper positioning.
- Count 2 stitches in from the right edge of your main project and then pick up and knit 1 stitch each from the next 9 stitches. This will be the base of your right controller pocket.
- Work 3 rows of stockinette flat, ending with a wrong-side row. DO NOT TURN.
- Instead, pick up 3 stitches along the side of the square you just knit. Turn your work.
- Work the right-side row till the end, and again instead of turning, pick up 3 stitches along the edge. on this row and all following, a stitch should be picked up from the main work to work together with the last stitch of the row as a p2tog or a k2tog as appropriate. You should be picking up every other stitch along a column of stitches to keep the work even with the pocket you are knitting.
- Continue working rows in this manner, joining the last stitch with the body of the work every row, for approximately 12 rows, or until your pocket is tall enough to reach but not cover the joystick of your right controller. On the next right-side row, begin by picking up one last stitch from the main body of your work, and knit it together with the first stitch in the row. this is the first stitch in your bind-off edge. bind off your pocket loosely, being sure to knit the last stitch together with one picked up from the left side as well.
All other pockets:
- You are going to repeat the process above for the other 3 pockets, picking up stitches for the top pockets lined up with the bottoms, and leaving 2 columns of stitches between the pockets. For example when you go to pick up the bottom pocket for the left controller, you should count 2 full stitches from the right pocket’s left edge and then pick up and knit the next 9. When working the left controller pocket, please be aware that the joystick is in a significantly different location!!
- approximate row counts for all 4 pockets:
- bottom-right: 12 rows
- top-right: 8 pictured, but could probably increase to 12 safely.
- bottom-left: 20 pictured, could probably increase to 22 or 24
- top-left: 4 pictured, should increase to 6.
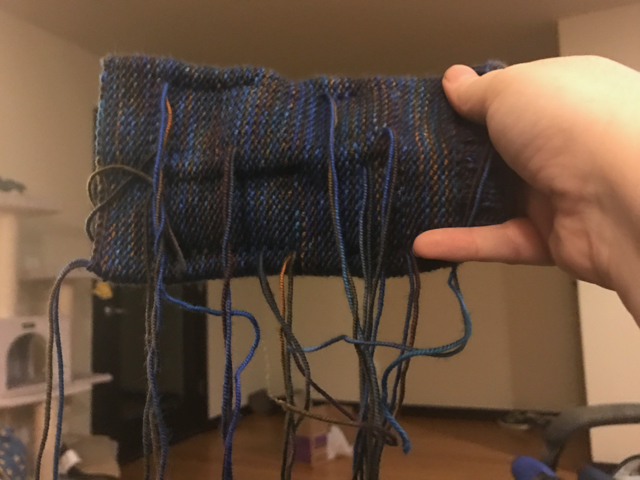
To finish, weave in all ends, and there are a lot. Have patience!
A twitter buddy of mine is committing to writing 500 words a day on some topic, and invited others to join her. Feel free to write alongside us, exercise those grammar muscles, and do a little wordsmithing. The hashtag on twitter is #500wordsAbout.